A great blog is not only about well-written words. Images play a major role in how visitors experience your content.
The right image can capture attention, explain complex ideas, break up long sections of text, and encourage readers to stay longer on your website.
However, many bloggers struggle with creating professional-looking visuals because they believe image editing requires advanced design skills or expensive software.
The truth is that small improvements and image editing tips can create a big difference.
You do not need to spend hours editing every image. Simple changes like adjusting brightness, improving composition, adding consistent branding, Alt Text, and choosing the right image size can instantly make your blog look more polished.
As a blogger, I have learned that the best image editing workflow is not about making images complicated. It is about making them clear, attractive, and useful for your audience.
In our guide on PixWizify, you will discover 15 quick image editing tips to create better blog visuals, improve readability, and build a more professional online presence.
Why Image Editing Matters for Bloggers
Images are often the first thing readers notice when they visit a blog post.
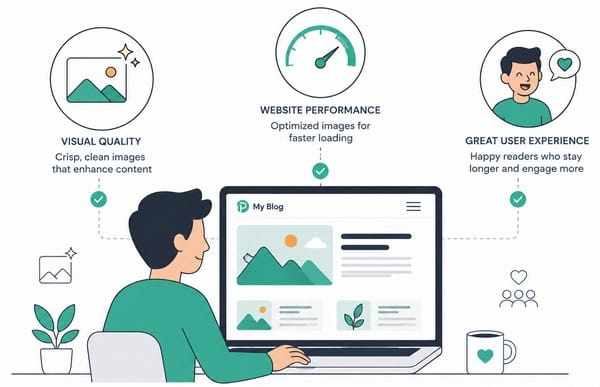
A professional-looking featured image can influence someone’s decision to click, read, and share your content. Poor-quality visuals, large file sizes, or inconsistent designs can make even excellent content feel less trustworthy.
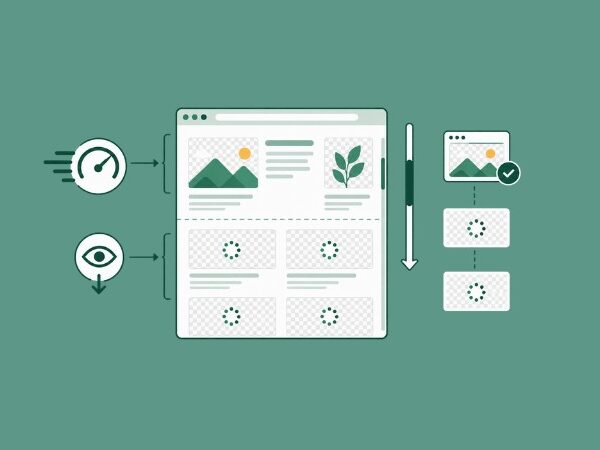
Image editing also supports website performance. Large, unoptimized images can slow down page loading speed, which may affect user experience and search visibility.
According to Google, page experience signals include factors related to loading performance and usability.
The goal is simple: create images that look great while keeping your website fast.
15 Image Editing Tips to Make Your Blog Look Professional
Choose the Right Image Size Before Editing
One of the easiest ways to improve your blog images is starting with the correct dimensions.
Uploading huge images directly from a camera or stock photo website can create unnecessary file sizes. A blog image usually does not need thousands of pixels in width.
For most blog posts:
- Featured images often work well around 1200–1600 pixels wide.
- Content images can often be smaller depending on placement.
- Social media graphics require specific dimensions.
Editing an image to the correct size before uploading reduces file size and helps your pages load faster.
Tools like Canva and Adobe Express make resizing simple.
Crop Images to Improve Composition
Cropping is one of the fastest image editing ways to make an average image look professional.
Many beginners keep the original image dimensions without considering how visitors view the content. A simple crop can remove distractions and highlight the most important part of the image.
For example, if your blog post discusses website optimization, the main focus should not be hidden among unnecessary background details.
Try:
- Removing empty spaces.
- Centering the main subject.
- Creating balanced proportions.
- Using consistent image shapes throughout your blog.
A thoughtful crop can completely change the feeling of an image.
Improve Brightness and Contrast
Images that look too dark, faded, or flat can reduce engagement.
Small adjustments to brightness and contrast can make colors appear more natural and help important details stand out.
Avoid extreme edits. Over-editing can make images look artificial.
A good approach is to increase brightness slightly if the image feels dark, add contrast to improve clarity, and adjust highlights and shadows carefully.
The goal is to enhance the original image, not completely change it.
Keep Your Blog Image Style Consistent
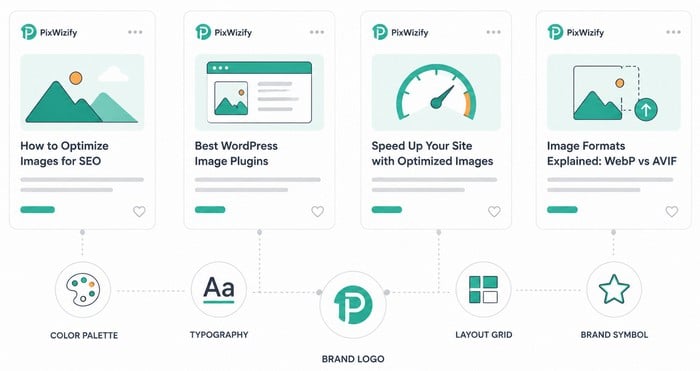
Professional websites usually have a recognizable visual style.
Consistency helps readers identify your brand and creates a more organized experience. When your blog images use similar colors, fonts, layouts, and design elements, your content feels more polished and trustworthy.
You do not need to make every image look the same. Instead, create a simple visual style and use it as a guide. For example, you might use the same two or three brand colors, a consistent font, similar image dimensions, and a small logo in the same position.
This approach also saves time. Once you have a basic image style or template, you can reuse it for new blog posts instead of starting from scratch every time.
You can create consistency by using:
- Similar color tones.
- Matching fonts.
- The same illustration style.
- Repeated design elements.
- Similar image layouts.
For example, if every featured image on your blog uses a clean minimalist design, visitors will quickly recognize your content.
Add Simple Branding Elements
Adding small branding elements can make your images look more professional and help readers connect your visuals with your blog.
You do not need to place a large logo across every image. In fact, an oversized logo can distract from the main subject and make the design feel promotional. A subtle approach usually works much better.
The key is to keep these elements consistent without allowing them to overpower the image. Your branding should support the design rather than become the main focus.
Consistent branding also makes your images easier to recognize when they appear outside your website.
When someone shares one of your blog graphics on Facebook, Pinterest, LinkedIn, or another platform, familiar colors and design elements can help people connect the image with your brand.
Over time, these small details can create a stronger visual identity and make your blog content look more established and trustworthy.
Use Filters Carefully
Image filters can improve an image, but too much image editing can hurt its quality and make the result look unnatural.
Many bloggers apply strong filters that completely change the original colors, brightness, or mood of a photo. While this may look interesting at first, heavy effects can make images feel artificial and inconsistent with the rest of your blog.
Use subtle adjustments, keep colors realistic, and choose a filter style that fits your brand. If your blog has a clean and professional appearance, strong vintage or highly saturated effects may not be the best choice.
It is also a good idea to use similar image editing settings across related images. This creates a more consistent visual experience and helps your blog look organized.
A professional image should feel clean and authentic. The goal is to enhance what is already there, not hide it behind excessive effects.
Remove Unnecessary Background Distractions
A busy background can make an image difficult to understand, especially when the main subject is small or surrounded by many competing elements.
Removing unnecessary distractions helps visitors focus on the main message of the image. This can make your blog visuals feel cleaner, more professional, and easier to understand at a glance.
A social media graphic may also perform better with fewer visual distractions and a clearer focal point.
You do not always need to remove the entire background. Sometimes a simple crop, slight blur, or adjustment to the background is enough to make the main subject stand out.
Modern image editing tools can also remove backgrounds quickly with the help of artificial intelligence. This can save bloggers a lot of time, especially when creating product images, featured graphics, profile images, or social media content.
Two tools worth exploring are:
These offer tools for removing or editing image backgrounds.
The key is to keep the final result natural. A clean background should support your image, not make it look overly edited or artificial.
Add Text Overlays for Better Engagement
Text overlays can make blog images more effective, especially for featured images, tutorials, and social media posts. A short headline gives readers an immediate idea of what your content is about before they start reading.
This can be particularly useful when your images appear in social feeds, search results, or content-sharing platforms where readers may only see the image for a few seconds.
The key is to keep the text simple and easy to read. Use a clear font that remains readable on both desktop and mobile screens. Avoid placing text over important parts of the image, and make sure there is enough contrast between the text and the background.
Try to keep your message short. A few carefully chosen words are usually more effective than a long sentence or paragraph squeezed into the image.
For example, instead of:
“Complete Guide To Everything About Images”
Try:
“15 Image Editing Tips”
The second version is shorter, easier to scan, and immediately tells the reader what to expect.
You can also use text overlays to highlight a specific benefit, question, or idea from your article. Just remember that the image should still work visually without the text becoming the only thing people notice.
Simple, well-positioned messages can make your blog images more informative, recognizable, and engaging.
Optimize Images After Editing
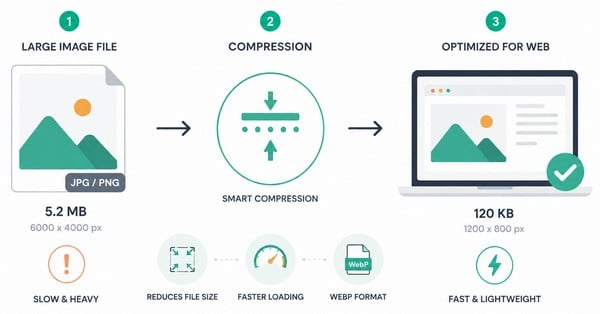
Image editing and image optimization should work together.
After making changes, compress your images before uploading them to your website. Editing can increase the file size, especially when you add text, effects, or other design elements, so optimization is an important final step.
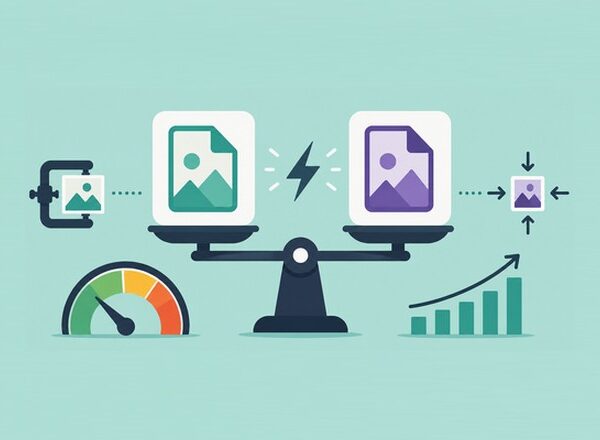
Compression reduces file size while keeping acceptable visual quality. Smaller images can load faster and use less bandwidth, creating a better experience for your readers, especially on mobile devices.
Before publishing, take a moment to compare the compressed image with the original. If the quality still looks sharp and the file is significantly smaller, your image is ready to use.
Popular image optimization tools include:
- ShortPixel: With ShortPixel, you can easily optimize images and PDFs and compress images to both WebP and AVIF.
- Imagify: Imagify is a popular image optimization plugin. You can compress images and convert them to WebP and AVIF directly from your WordPress dashboard.
- TinyPNG: TinyPNG is an easy-to-use image compression plugin for WordPress. The plugin supports WebP, AVIF, JPG, and PNG formats.
- EWWW Image Optimizer: EWWW Image Optimizer, with over 1+ million active installations, can help you to make your site faster, improve bounce rate, and boost your SEO.
Save Images in the Right Format
Choosing the correct image format improves both quality and performance. Different formats are designed for different types of images, so using the right one can help you maintain sharp visuals without creating unnecessarily large files.
The most common formats for blog images include JPEG, PNG, WebP, and AVIF.
JPEG – JPEG is a good choice for photographs, blog images, and pictures with many colors or details. It provides a good balance between image quality and file size, making it useful for many everyday blog images.
PNG – PNG works well for graphics that require transparency, logos, illustrations, and certain screenshots. It can preserve excellent image quality, but PNG files can sometimes be much larger than modern alternatives.
WebP – WebP is a modern image format that can provide high visual quality with smaller file sizes. It supports features such as transparency and animation, making it a flexible option for many websites.
AVIF – AVIF is another modern format that can deliver very efficient compression while maintaining strong image quality. It can be particularly useful when reducing image file sizes is a priority.
Google recommends using modern image formats as part of an effective image optimization strategy. Choosing an appropriate format for each image can help you create a faster website without sacrificing visual quality.
For most bloggers, the goal is not to use one format for every image. Instead, choose the format that provides the best balance between quality, compatibility, and file size for the specific visual you are publishing.
Improve Screenshots Before Publishing
Many bloggers use screenshots for tutorials, guides, software reviews, and step-by-step instructions. Screenshots can be extremely useful because they show readers exactly what to look for instead of relying only on written explanations.
However, a raw screenshot can often look unfinished or contain more information than the reader actually needs. Browser tabs, menus, empty spaces, notifications, and unrelated interface elements can make the image harder to understand.
Before publishing a screenshot, take a few moments to clean it up. Crop unnecessary areas, highlight important sections, and add simple arrows, circles, or annotations when they help guide the reader’s attention.
You should also remove any private or sensitive information before uploading the image. This can include email addresses, usernames, personal messages, order numbers, or other details that should not appear publicly.
Finally, check that the screenshot is easy to read on smaller screens. If important text becomes too small after resizing, consider cropping the image more tightly or creating a separate close-up.
Create Images That Work Well on Mobile Devices
Most readers browse websites using mobile devices, so your blog images need to look good on smaller screens. An image that looks impressive on a large desktop monitor can become difficult to understand when viewed on a smartphone.
This is especially important for graphics that contain text, charts, screenshots, or multiple visual elements. If everything is too small or crowded together, readers may have to zoom in or simply skip the image.
When editing your images, keep the most important elements large and easy to recognize. Avoid tiny text, complicated layouts, and unnecessary details. A simple design usually works better because it remains clear across different screen sizes.
It is also worth checking your images on a smartphone before publishing your post. Look at the featured image, screenshots, graphics, and any text overlays to make sure the main message is still easy to understand.
Remember that mobile users may also be viewing your content on a slower connection. Keeping your images properly resized and compressed can help them load faster while still looking sharp.
Use Templates to Save Editing Time
Bloggers often spend too much time recreating the same designs from scratch.
Templates can speed up your workflow and make your image editing process much more efficient. Once you have a basic design you like, you can reuse it for future posts and change the image, headline, or other details.
Templates also help maintain a consistent visual style across your blog. This means your featured images and social graphics can look professional without requiring a completely new design every time.
Create templates for:
- Blog featured images.
- Quote graphics.
- Social media posts.
- Tutorials.
- Infographics.
Once your templates are ready, creating new visuals becomes much faster.
Tools like Canva and Adobe Express offer thousands of customizable templates.
Add Visual Elements That Support Your Content
Images should do more than decorate your blog.
The best visuals help readers understand information, explain ideas more clearly, and make complex topics easier to follow. A useful image can sometimes communicate an idea faster than paragraphs of text.
When choosing or creating a visual, think about what value it adds to the content. Ask yourself if the image helps explain a process, highlights important information, or gives readers a clearer example of what you are discussing.
Examples include:
- Infographics.
- Charts.
- Screenshots.
- Step-by-step illustrations.
- Comparison graphics.
A useful image can improve comprehension and make readers more likely to share your content.
Review Every Image Before Publishing
Before publishing a blog post, take a final look at every image. This quick review can help you catch small problems that are easy to miss during the image editing process, such as blurry details, inconsistent sizing, poor cropping, or text that is difficult to read.
It is also a good opportunity to make sure your visuals support the content and match the overall style of your blog. A few minutes of checking your images can make the finished post feel much more polished and professional.
Ask yourself:
- Does this image support the content?
- Is the quality good?
- Does it load quickly?
- Does it look professional?
- Is it optimized for mobile users?
- Does it match my brand?
A quick review can prevent small mistakes that affect your website’s appearance.
Helpful Image Editing Tools for Bloggers
Canva: Canva is popular among bloggers for its templates, resizing tools, graphics, and easy image editing features.
Adobe Express: Adobe provides simple online design tools for creating and editing blog graphics.
Pixlr: Pixlr offers browser-based image editing features for quick adjustments.
GIMP: GIMP is a free alternative for bloggers who need more advanced image editing options.
Conclusion – Small Edits Create Professional Blog Images
Creating professional blog visuals does not require years of design experience.
The biggest improvements often come from simple changes such as image editing: choosing the right size, cropping carefully, improving colors, maintaining consistency, and optimizing images before uploading.
Your images represent your brand. They help readers understand your content, create a stronger first impression, and improve the overall quality of your website.
Start with one or two of these quick image editing tips and gradually build a workflow that fits your blogging routine.
Better images do not just make your blog look nicer. They help your content communicate more effectively.
We sometimes use affiliate links in our content. Some of the links in this post are “affiliate links.” This means if you click on the link and purchase the item, we will receive an affiliate commission. It helps our website keep running and allows us to offset our writing team’s costs. Thanks for your support.